Fixing tangled cords on 2023 Luxaflex top-down/bottom-up Duette shades
This is a bit of a different topic then my usual posts. My 2023 Luxaflex top-down/bottom-up (luxaflex.nl) Duette shades (luxaflex.nl) cords got tangled up because of misuse - the cords should always remain under tension else the spools tangle. Repairing costs 200 EUR and takes 4 weeks, both are not great. With nothing to lose, I decided to investigate myself.
Problem 
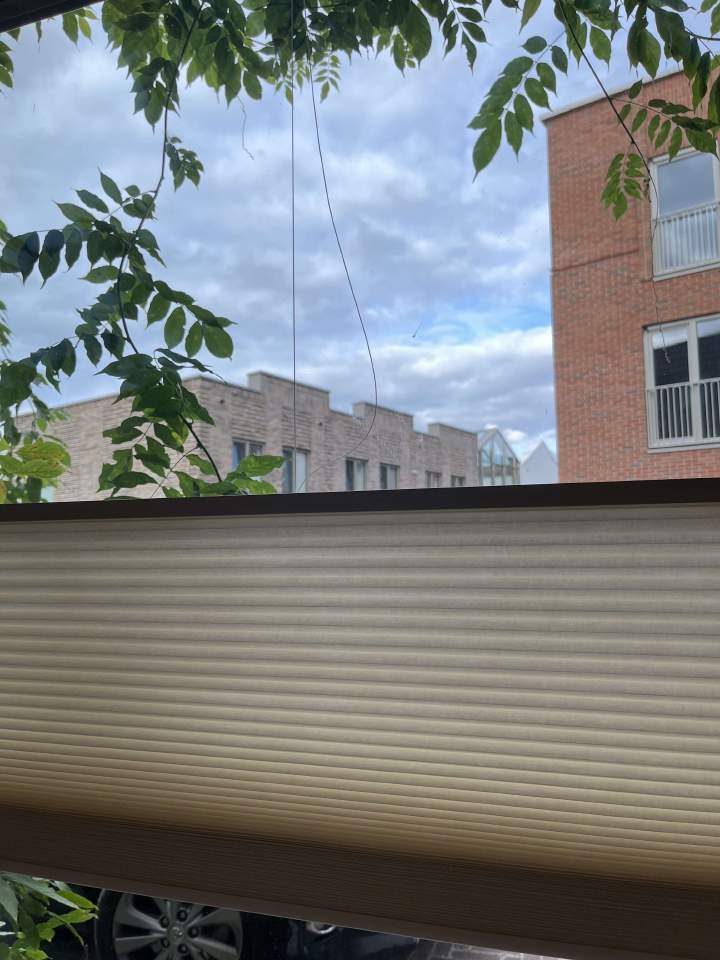
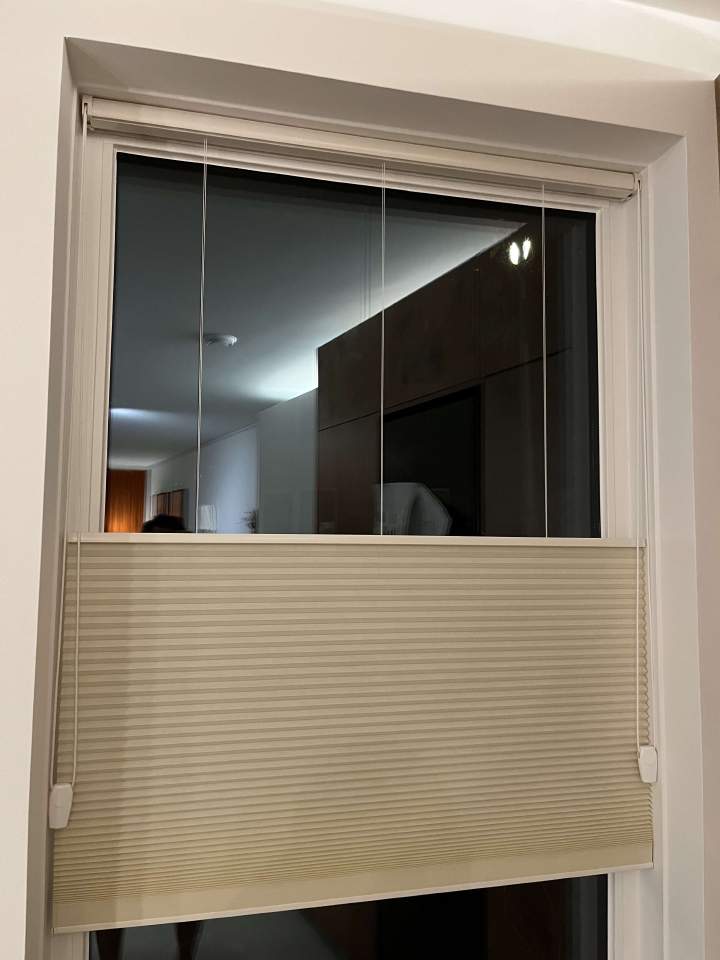
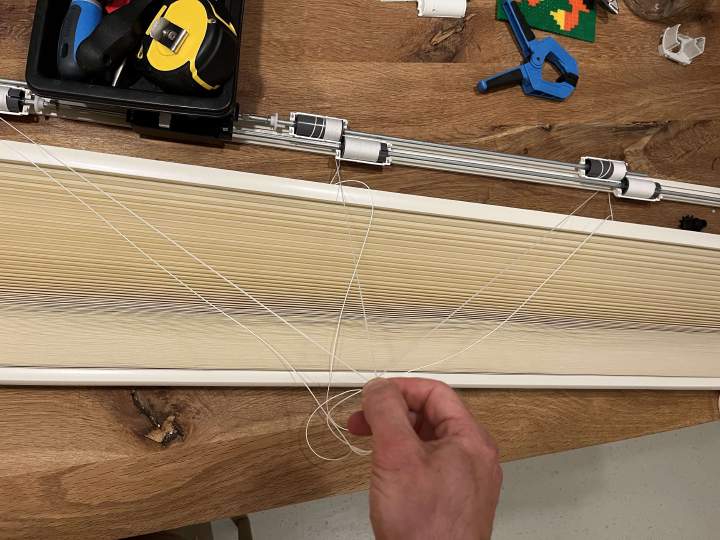
Cord was loose, meaning it was tangled up somewhere, and the bottom bar couldn’t go down fully anymore.
Easy fix 
If the cord is not too stuck, you can try to pull it loose without disassembly:
- Lower the bottom bar as much as possible, then the top bar until it touches the bottom bar (perhaps even more, but that means you lose the tension in the cord which could cause more tangling)
- Pull down the bar to see if the tangled cord(s) pop loose.
This didn’t work for me, so I continued with a more thorough approach.
Preparation 
You need a few things:
- Clean hands - you don’t want to fix something and then have stains on them (this never happened)
- Small screw driver (‘spanningszoeker’ (gamma.nl)) to pry open the mounting clips
- Precision Philips screw driver (I used 1x50 whatever those units mean, something like this (gamma.nl))
Nomenclature used:
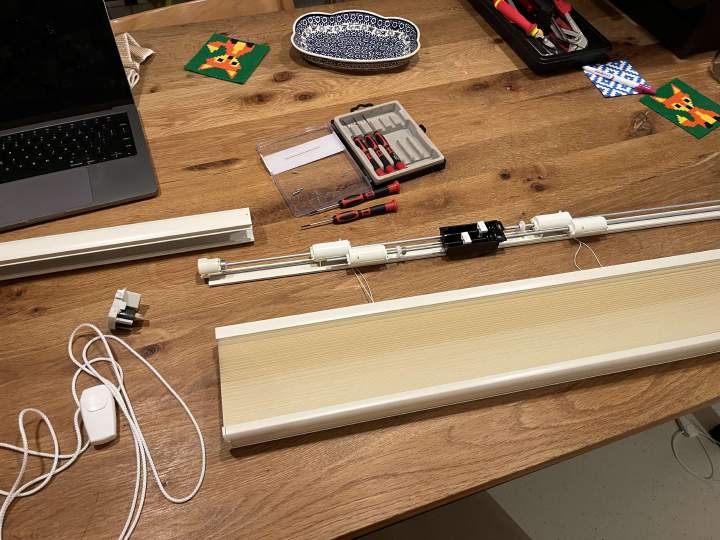
- Top/bottom bar: metal frames holding the canvas
- Cassette: metal frame containing the drive mechanism and cord spools
- Base plate: bottom part of the cassette on which the cord spools are mounted
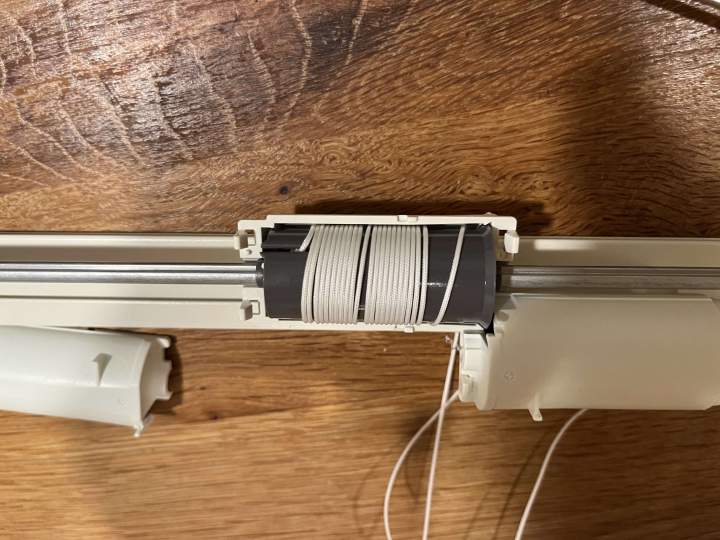
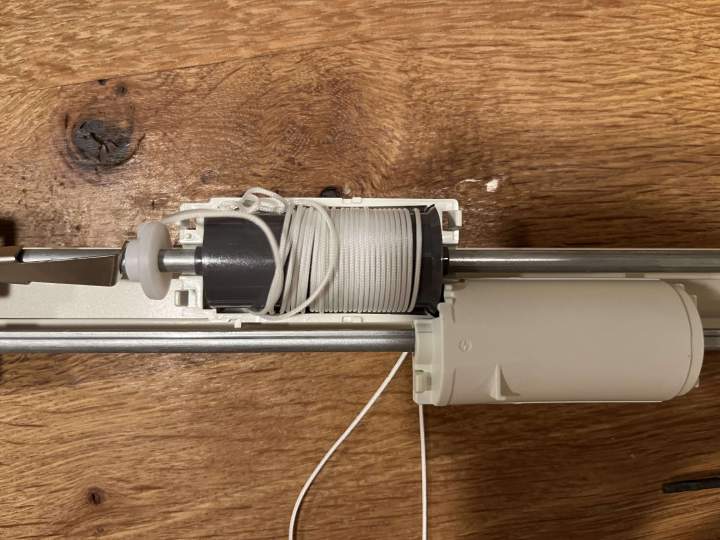
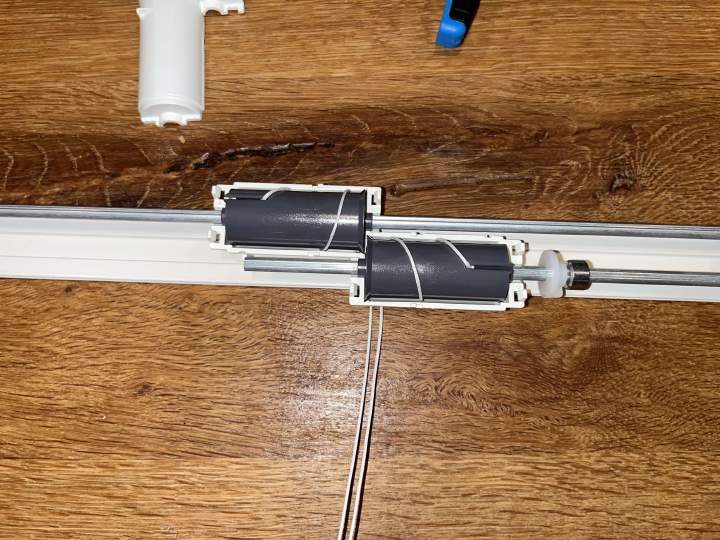
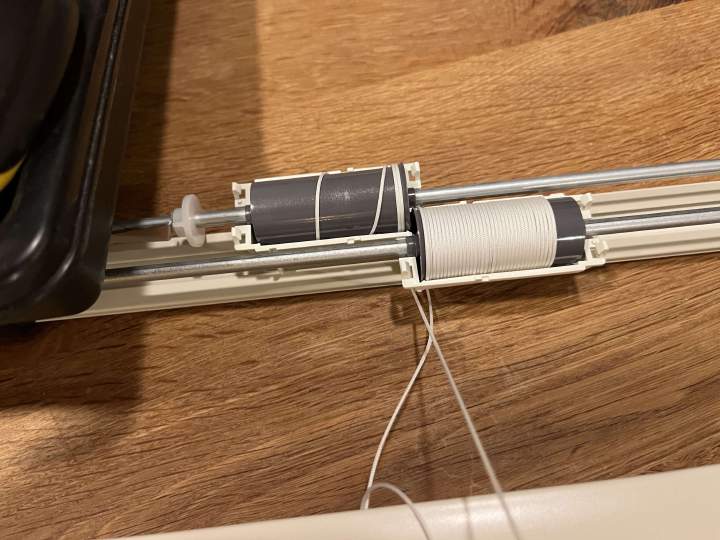
- Cord spools: grey cylinders on which the cord is wrapped, covered in a white plastic casing.
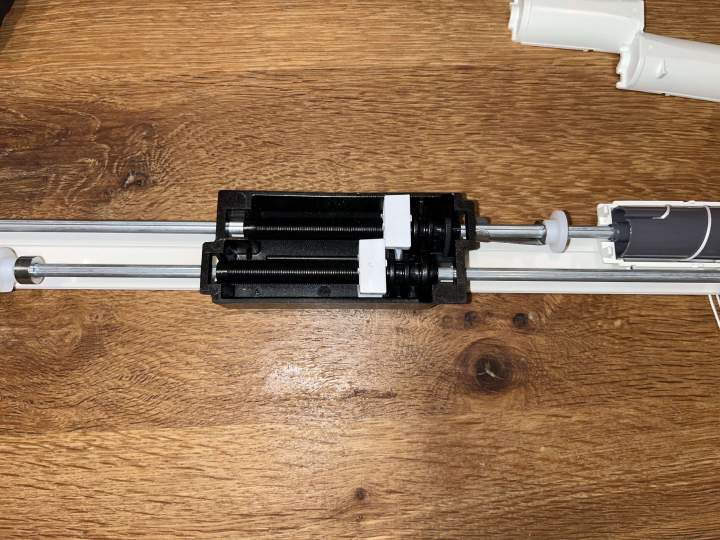
- Anti-blocking mechanism: threaded mechanism on the base plate preventing over/under-pulling somehow.
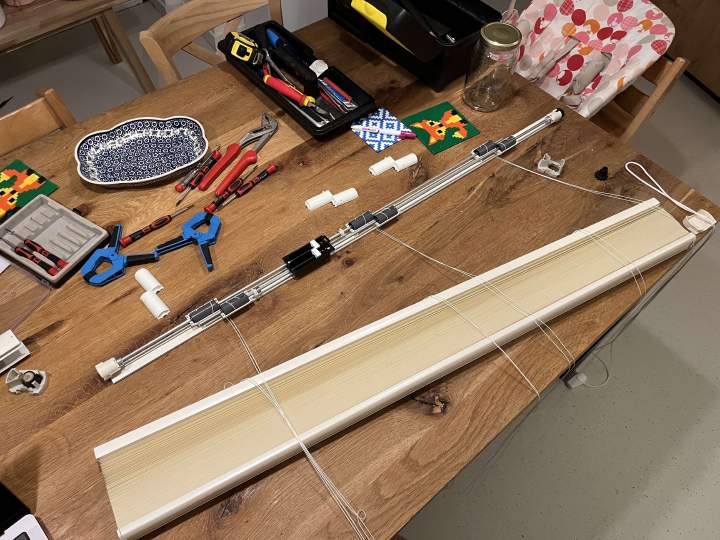
Unmounting the cassette 
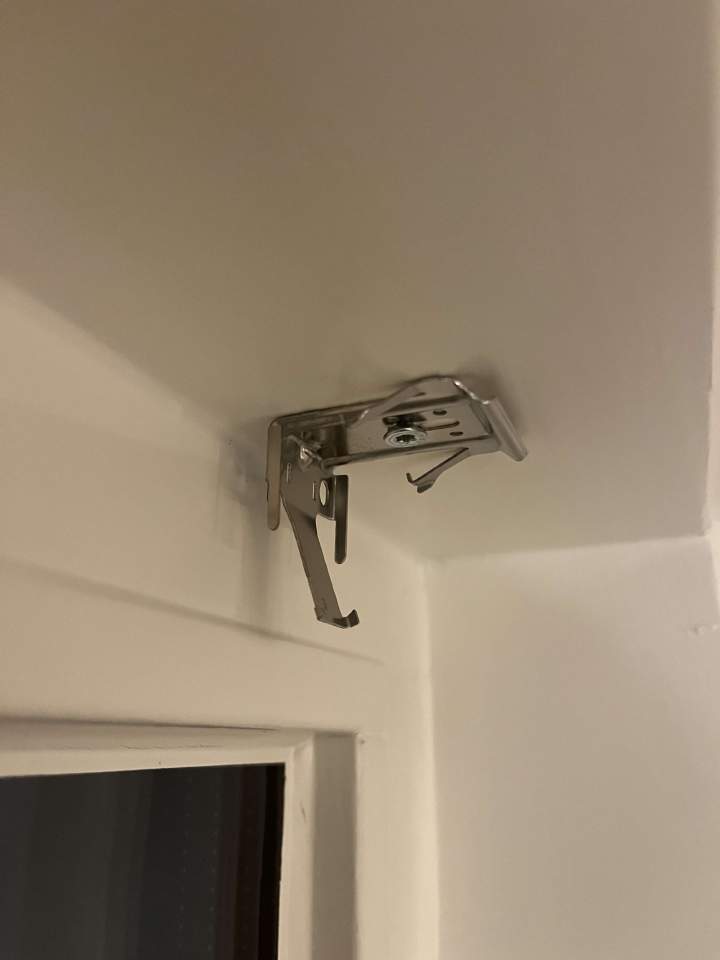
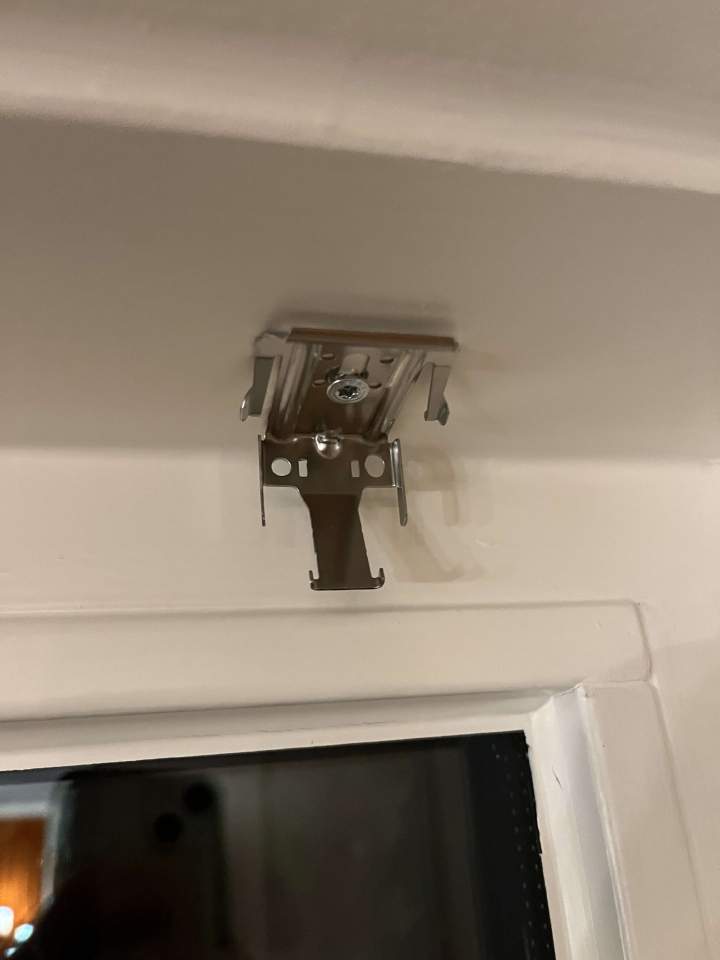
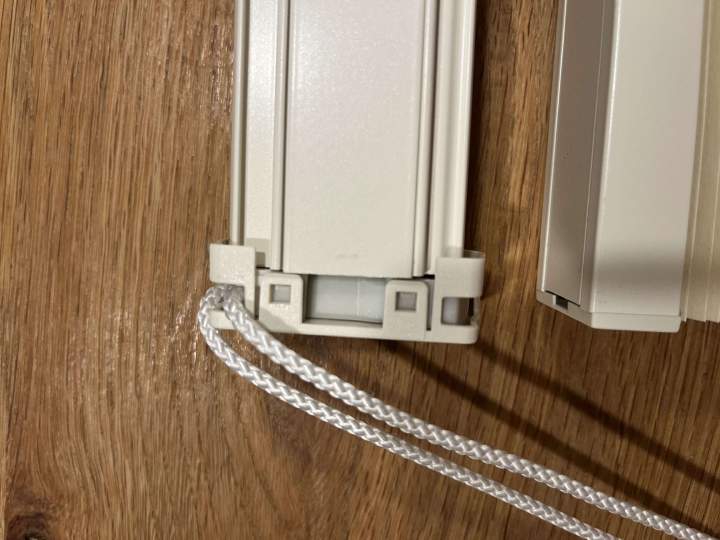
Let down the Duette as far as possible. This will save some time later on. Then, pry open the metal clips on the back of the cassette with the small screw driver. Then wiggle the cassette until the clips on the ceiling let go. I don’t know exactly what orientation / movement is required, but the clips looks like this:
Ejecting the drive mechanism 
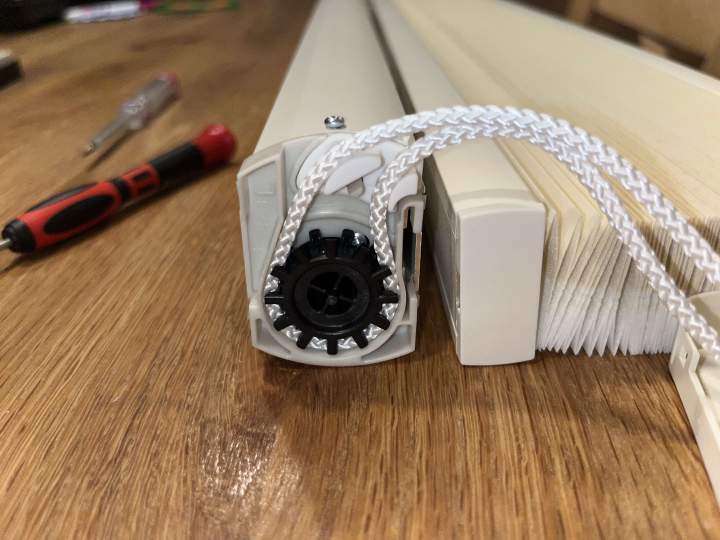
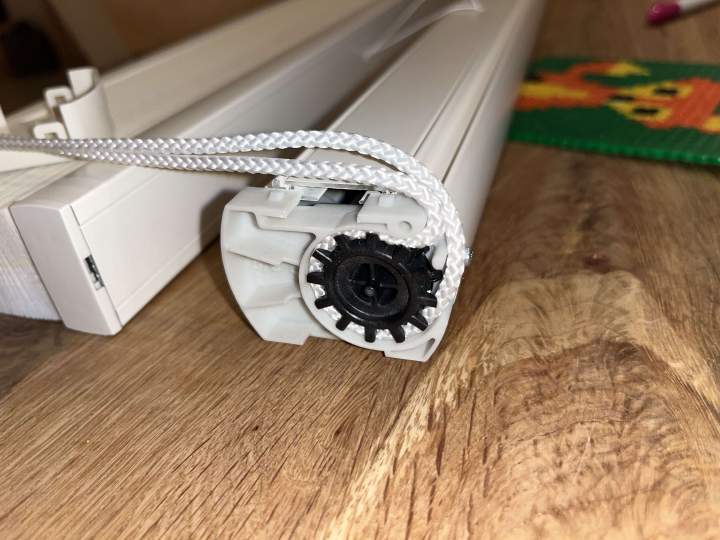
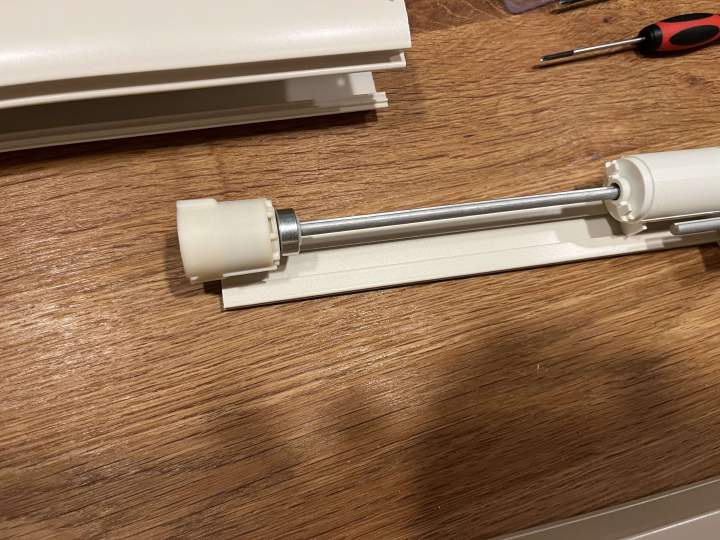
Next, disasemble one side of the top cassette to reach the drive mechanism inside. First pop off the plastic cap to reveal the cogwheel driven by the cord, then remove the cogwheel + cord. Note that left and right have different plastic caps because the spools are located in the front and back of the cassette and require different cord guidance.
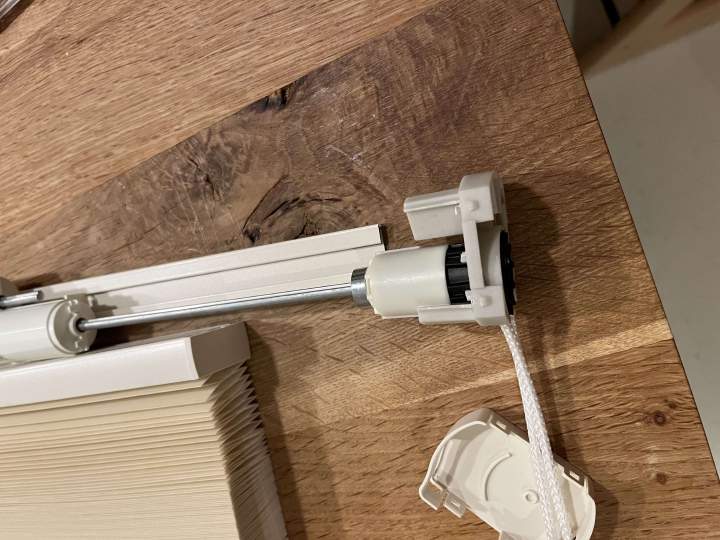
When the cogwheel is off, slide the casing off the base plate of the cassette to reveal the drive mechanism.
Open spools 
Next, open the plastic caps of the problematic spools to see the problem.
Understanding the mechanism 
The mechanism seems to work as follows:
- The spools have cords on them that wrap up nicely if (and only if) the cord is under tension.
- There’s a anti-blocking mechanism in the middle which ensures that the bottom bar cannot be raised above the top bar (or something similar)
The spools & anti-blocking mechanisms should be aligned, i.e. when the blocking mechanism is all out (right side in my case), the cord on the spools should also be all out. In my case, somehow the spools of the bottom bar were not in sync with the blocking mechanism.
Unwrapping the spools 
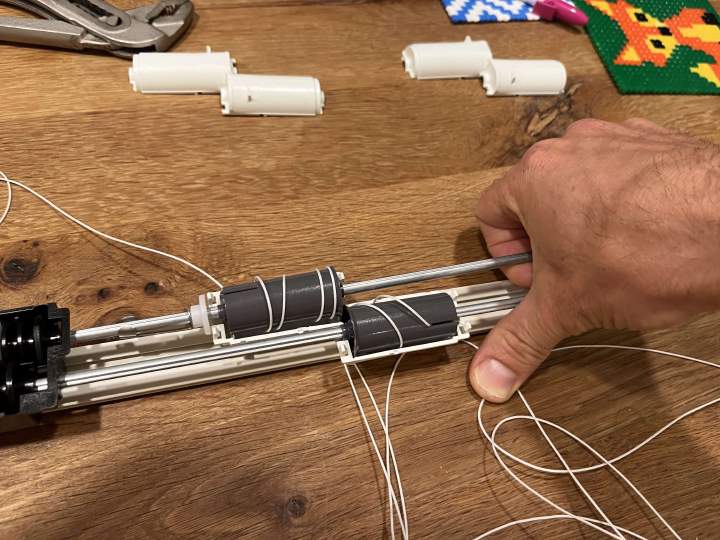
The next part is quite tedious, but not very difficult: get the cord wrapped nicely on the spools. I did the following:
- Rotate the shaft to extend the cord as much as the blocking mechanism will allow. While doing so, ensure you pull the cords to prevent (further) tangling.
- If there’s still cord on the spools, bend/lift up the shaft and pull the cord off until there’s one or two wraps of cord left.
While doing this, ensure you don’t remove the shaft, else the cord/spool-alignment might be messed up and you need to re-align the length yourself (out of scope for this post - see video below for some pointers).
N.B. With the blocking mechanism fully extended, I had two cord wraps on the bottom bar spool and one on the top bar. My thinking was that this would ensure the bottom bar never goes above the top bar, but it turns out this was not needed and now I have one cord-wrap of minimum distance between my bottom and top bar.
Wrapping the spools 
Next, start wrapping the cord on the spools, first of the top bar, then of the bottom bar. It’s handy to fix the base plate to ensure it doesn’t move. I did this by putting some weight on it. It’s probably easier if you do it with two people.
Some tips:
- While wrapping, I maintained tension on the cord by holding them. For the last part, I wrapped without tension which seemed to work.
- Once wrapped, ensure the cords remain under (some) tension, else the cords might tangle again.
- I wrapped the cords until there was ~5cm between the cassette and top bar.
- You could also not wrap the spools and go straight to assembly & re-mounting, then use the cord mechism to wrap the cords. I didn’t try this.
Assembling & re-mounting 
With the cords wrapped, close the spool covers (these only fit one way), then slide the cassette onto the base plate, and re-mount the cogwheel. It might be a bit finnicky to get the rope on the cogwheel inside the plastic cap, so ensure you press the rope into the teeth of the cowheel while inserting it in the plastic cap. Additionally, ensure the cog wheel is rotate correctly to lock in the shaft.
Once the cassette is assembled, clip it to the ceiling mounts, first at the top, then at the back. Fully lower the bars, then pull up again to get ’natural’ spool wrapping of the cords and you should be golden.
Background 
- Hunter Douglas Duette Top-Down/Bottom-Up LiteRise Repair: Motor, Transmission, & Cord Replacement (youtube.com) - this helped me get as close as a tear-down before trying myself.
- Montagehandleiding Luxaflex Duette Shades (Dutch) (issuu.com)
